Have an empty space to fill and thinking about installing a net? Want to make an indoor or outdoor area safer? Below you will find all the information you need to finalize your plans for setting up a home net.
1. Structure
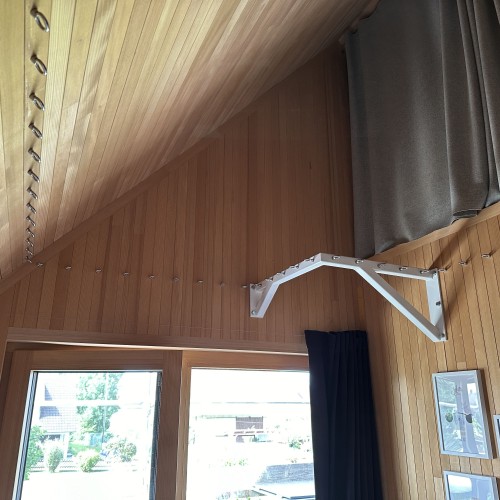
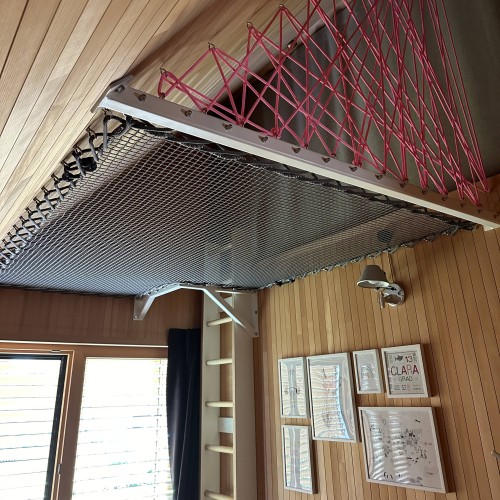
The first step is making sure you have a supporting structure or reinforced frame on every side of the empty space you want to fill. This structure will ensure the net is safely set up, with the load spread evenly across the surface and equal tension around the edge. If you have any doubts, have a professional check the solidity of the frame and/or built supports.
If the existing frame is not robust enough, it is essential to have it reinforced. For this, we recommend the following reinforcement methods:
- Adding a wooden frame. The screws in our eye plates or blocker eye plates can be used for wood at least 60 mm thick.
- Adding a metal frame or tubular structure. The advantage of metal tubing is that you can lace your tension rope around it directly, without having to use fastener screws.
→ Find out more about which safety elements need to be considered when installing a home net.
Cut-outs in your structure
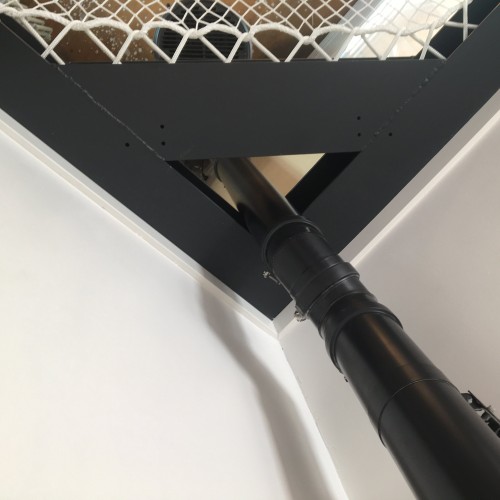
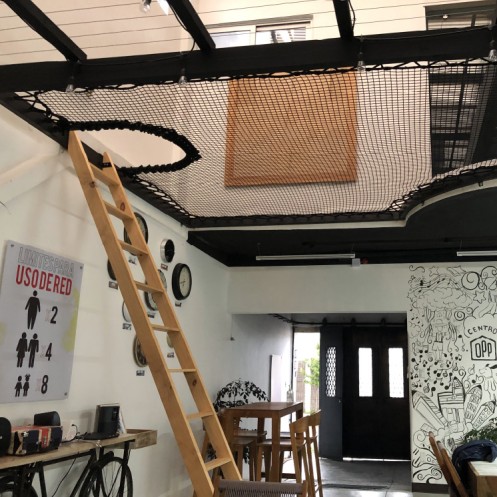
If you plan on having a ladder, chimney pipe or wood-burning stove pass through the inside of your structure, we can design a net with a special cut-out. If there is an element that the net needs to go around, we recommend installing a small built-in frame like the ones in the examples below. Simply let us know the dimensions of the cut-out in your plan.
Missing edges
It is important for your net to be attached to a structure on every side. If your existing structure is missing a side, you can add a wooden beam, a metal bar or tube, an IPN or any other type of solid support. We recommend you speak to a professional about installing these types of supporting structures.
LOFTNETS solution for missing edges is a custom-made Dyneema® rope delivered along with the necessary accessories so that it can be adapted to the length of the missing edge. This lightweight and discreet solution is a handy alternative to a handrail or rigid structure for completing the frame for your net.
The tensioner delivered with the Dyneema® solution is used to create a taut rope that ensures adequate tension in your home net. Primarily used for guardrail nets, this solution can in some cases be used as a finish for the fourth side of a three-sided structure used with a horizontal net installed over water, for example. It is important in this case to check that the hanging structures in the system are very robust, as the forces exerted will be distributed entirely across these two anchor points.
2. Choosing a net; horizontal or vertical
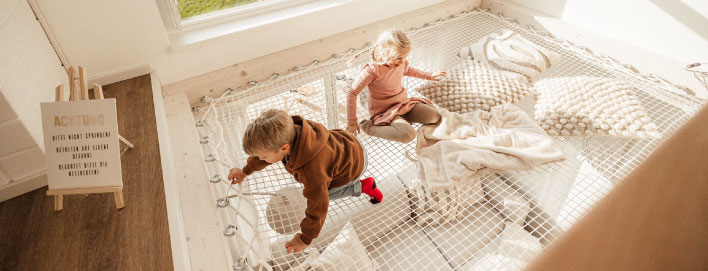
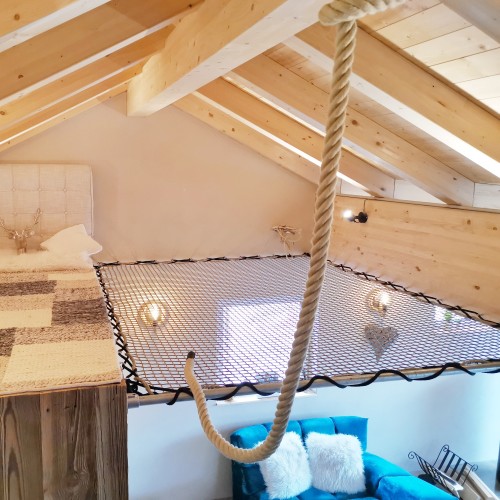
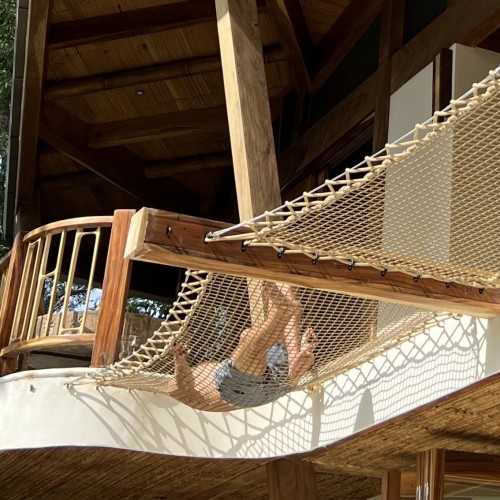
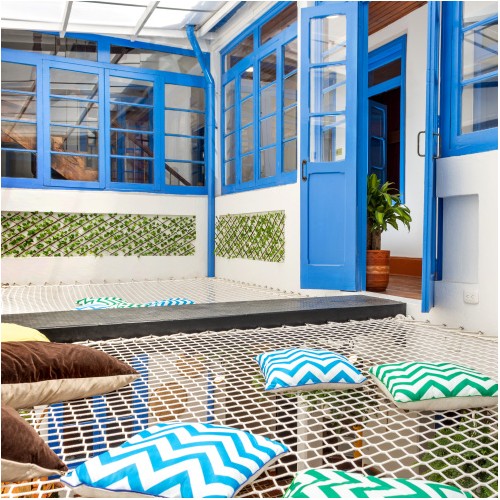
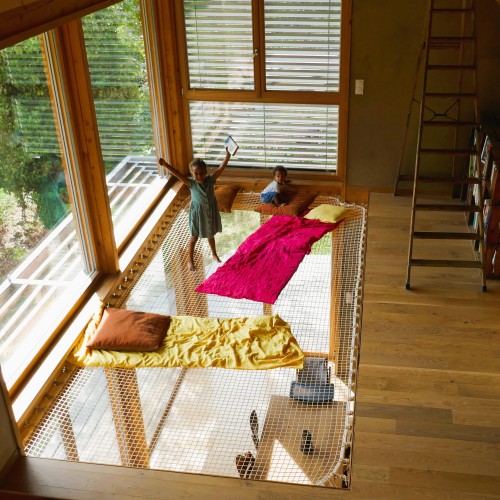
CHorizontal nets can be used to create a new living space in your home or garden. Whether the goal is to increase safety around a gap or to use unused space, the possibilities are endless, from a games room for kids, a relaxation area, extra bed, sunbed, terrace net, or protection for a pool... our easy-to-install giant hammocks are a great way to gain new space and a multi-purpose, airy area that will be loved by kids and adults alike.
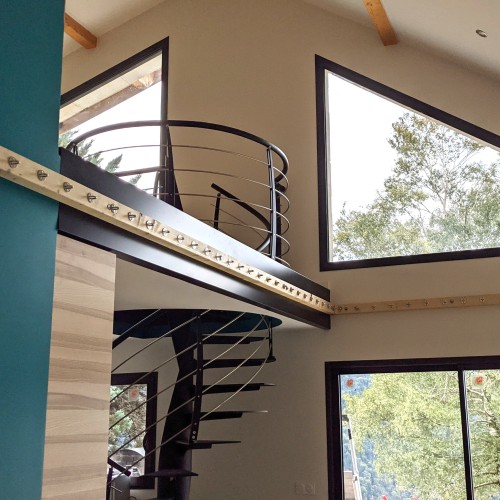
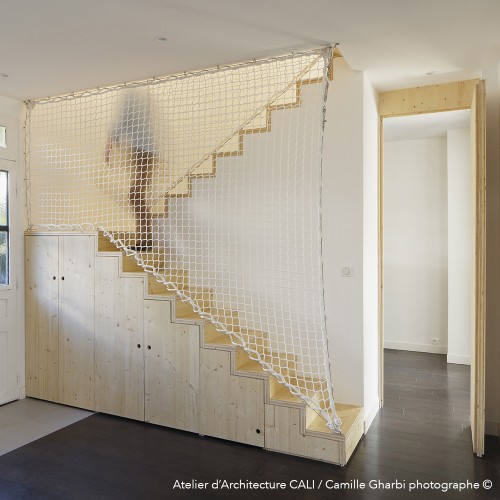
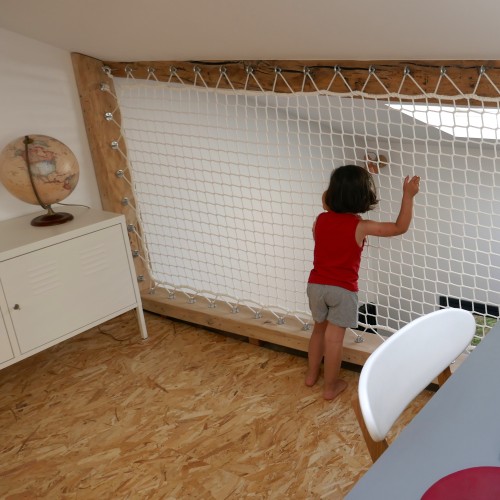
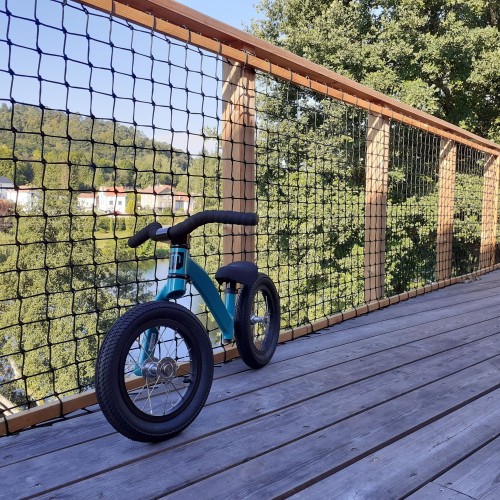
Vertical nets, also known as guardrails, are an original design and safety feature. Installed indoors or outdoors, this custom-made net can be used as a handrail for a stairway or terrace or to separate two rooms, such as the eaves in a loft. The possibilities for décor and uses are endless!
Our nets are custom-made, which means we can make your home net in any size and shape you want. Use our online form to get a quote based on your needs. You can contact us directly with photos of your structure and a plan.
3. Choosing the mesh and rope
Depending on the look you want to create and the style of décor in your indoor and outdoor spaces, we have a wide choice of sizes and colors of mesh and ropes. For further information and inspiration, check out our Projects.
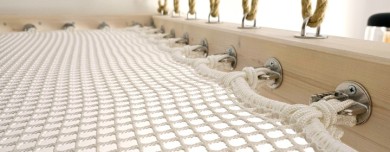
For horizontal nets, point-by-point or criss cross lacing on tension ropes is obligatory for security and practical reasons.
→ Find out more about the types of lacing we recommend.
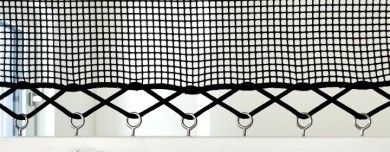
For vertical nets, you can choose between triangular or simple lacing, around the frame or rope-free edges, attaching the net directly to special fasteners, depending on your structure and the finish you are aiming for.
4. Installing a home net
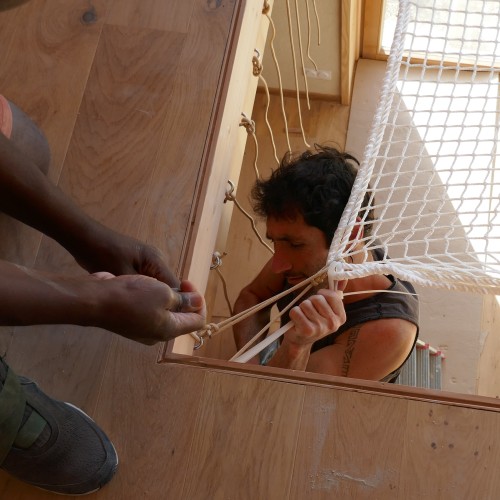
80% of our customers install their net themselves. Everyone is able set up a home net. The process is fairly uncomplicated, not particularly technical, and does not require the help of a professional. Our detailed manual (which you will receive once your order has been confirmed) and installation videos on our YouTube channel will guide you through easy, step-by-step assembly of your net.
We recommend having at least two people to set up your net and giving yourself a few hours (two to three hours on average) to finish set-up.
You can also request the assistance of a professional to help you install your net. Simply let us know if you would like us to put you in contact with an artisan fitter from our network who is familiar with our products and has already set up one of our nets.
Tools for installing and attaching your net
LOFTNETS offers a range of fasteners based on your structure, as well as tension ropes.
Make sure you have the necessary tools for drilling holes in the frame structure and tightening fasteners before installing your net.
NB. The following tools are provided free with your net:
- Zip ties, which will help you position your net and keep it in place during lacing. This means you will need no special tools for installing the net itself.
- A drill bit for installing 8x80 mm, 10x100 mm and 12x120 mm eye screws.
You might already have your own fasteners. These will still need to meet the same requirements and specifications as our fasteners. If you choose to use your own fasteners, you will need to let us know their length and diameter so we can include them in our calculations for your net’s plan.
5. Net lifespan and resistance
It is possible for several adults to use a net at once, as long as the maximum working load is not exceeded. The safe working load per m2 for our home nets is as follows:
- For a net 8 m² and under, the maximum weight permitted is 120 kg/m² spread across the entire surface of the net.
- For a net over 8 m², the maximum weight permitted is 1 ton (1000 kg) spread across the entire surface of the net.
These figures are the result of several trials completed by our team and approved by an independent certified inspection office.
As our ultra-resistant nets have very low elasticity, they will not bounce. This means children can play on them safely.
Please note that our nets are not trampolines and we do not recommend jumping on them.
The lifespan of a catamaran net is around five to ten years when used on a boat in extreme conditions (wind, UV, rain, salt, storms). Our home nets have no specific lifespan and this will depend on where they are installed and how they are used.
A home net is a custom-made product with a two-year warranty.
Alterations
For a net that uses a bolt rope as a finish—i.e., a stitched-in reinforcement rope around the edge—it will not be possible to recut the net itself. If alterations are needed, please get in touch with our advisers.
It is possible to order guardrails without a finish. In this case, you will be able to adjust the net yourself according to the finished look you would like.


