Find out how to simply and efficiently set up your net with our example using a wooden frame, which you can use as inspiration for your project.
Hammock floors are a trendy and modern way to create a new and safe suspended relaxation area that makes the most of your home’s lighting.
Our nets are custom-made. Simply tell us about your supporting structure and its characteristics, and the dimensions of the space that needs filled, and our Bordeaux workshop will manufacture your net in approximately 15 working days.
Our nets are easy to install and you can even assemble them yourself, or get the help of an artisan fitter in our network if you prefer.
Installation in 4 steps
This installation guide will go through the main steps in setting up a home net on a wooden frame.
See these steps in detail in the manual sent with the email confirmation for your order.
-
The supporting frame
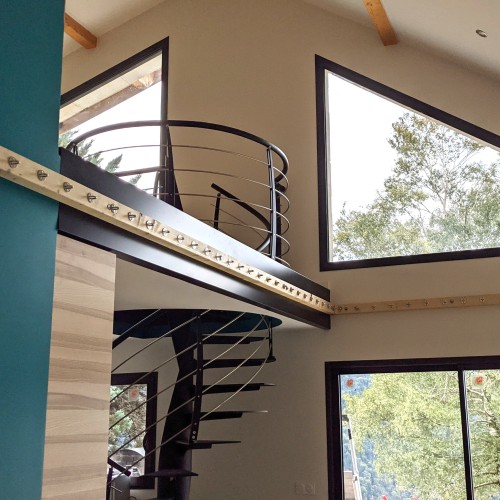
The first and most important step in preparing installation of your net is to ensure you have a suitable supporting frame where you can install the fasteners used to hold your net in place. A home net will support the weight of one or more persons, which means the structure that supports the net will also need to be extremely robust.
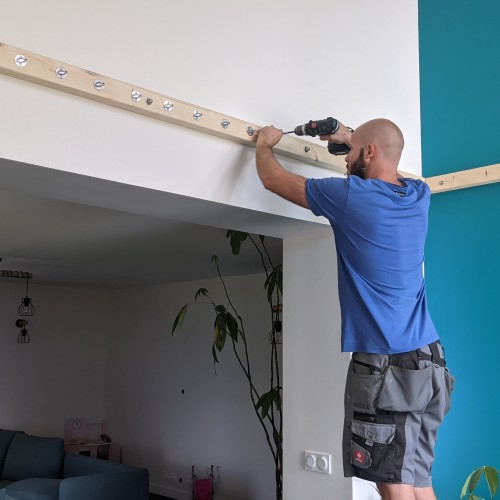
We recommend attaching the home net’s anchors in a plain material. Your net can be installed indoors in a wooden, concrete or steel frame, either using load-bearing walls or your own pre-built frame.In our example, Thomas has chosen to add a wooden frame to attach the fasteners (see the following step). This means he does not need to drill directly into the concrete wall, which would have been more difficult. This system will be just as robust when the net is installed. Thomas created his own wooden frame to attach the eye plates to.
-
Fasteners
Fasteners should be chosen based on the supporting structure and its thickness. Our team can help you choose the right fasteners for your project. Once these have been chosen, attach one every 12 cm around the entire frame. This gap between each fastener is recommended by LOFTNETS for an optimum distribution of tension and loads. Extremely robust, our fasteners offer an additional element of security, creating the link between your net and its supporting structure.
You can also choose the shape and color of your fastener to add to your net’s overall aesthetic. Depending on whether these will suit your interior or exterior design, you can also opt for black fasteners.
Thomas has made sure to position the fasteners every 12 cm. He has screwed these in directly using a drill (eye screws require pre-drilling). -
Pre-tensioning the net
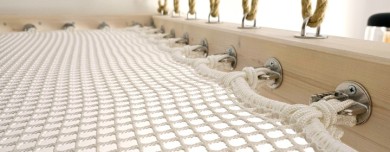
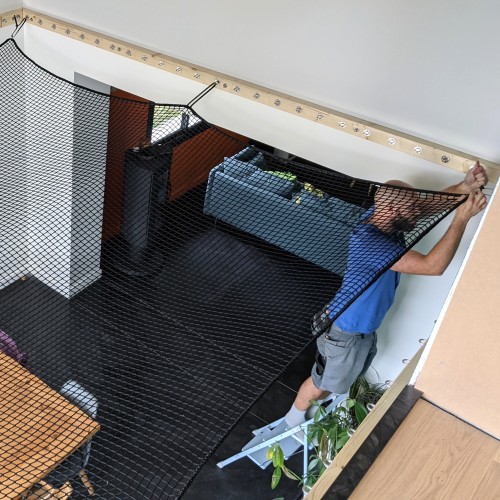
This short step is used to quickly position the net using plastic zip ties. Take the corners of the net and join them to the eye plates using the zip ties.
To do this, pull the net close to the edges, pass the zip tie through a fastener and then thread the net through the zip tie, before tightening just enough to keep everything at a good distance.
This will enable you to position the net in the corners first, followed by the middle of the edges. This will make the next step easier, when you will lace the net using tension rope.
Thomas has pulled the corners of the net close to the corners of the frame. He has used a zip tie to attach the corners of the net to the corner fasteners, and then repeat this process in every corner, before moving on to the middle of each side. -
Lacing
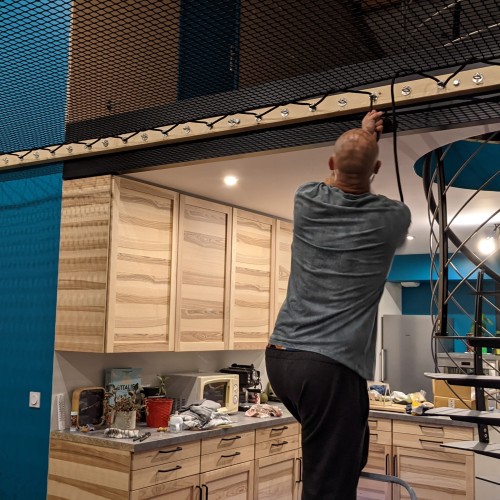
This technique involves threading the tension rope through the edges of the net and the fasteners. LOFTNETS recommends two types of lacing for a horizontal home net:
- Point-by-point lacing: it involves using a 5 mm diameter rope, which will connect the net to each fastener individually.
To do this, start from one corner and make a starting knot at every point, followed by an end knot.
Repeat the process with the other points in the middle of each gap until all the fasteners have been connected between each point.
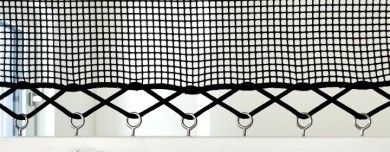
- Criss cross lacing: the idea is to add two 10 mm diameter ropes that will both go around the edge of the net.
To do this, start with the first fastener after the corner and make a starting knot. Next, attach the net to one end and begin lacing the rope behind the net’s bolt rope and through every second fastener. At the other end, make an end knot.
Finally, repeat the process on the opposite corner, with a starting and end knot at each end of the rope.Thomas has used two ropes, each one attached to every second eye plate.
-
Result
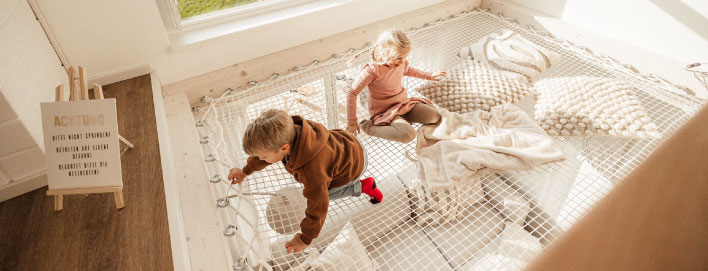
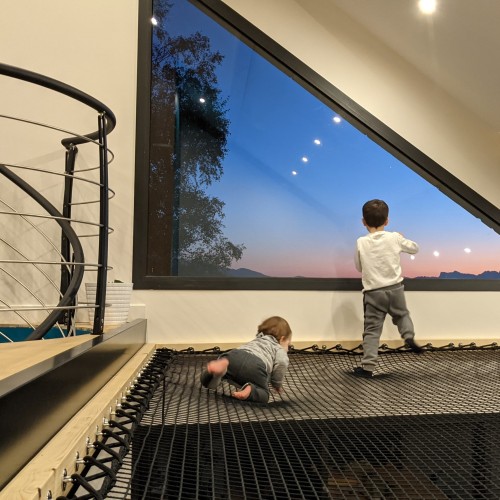
Installing a net has allowed the family to gain an extra 20 m² in space and to create a new room in the house: a play area for the kids and a place for their parents to relax.
Retensioning the net:
After a few weeks (or months, depending on how often you use it), your home net will relax slightly. It is completely normal for your net to loosen; simply retension it using the tension rope designed for this purpose. To do this, simply take up the tension per anchor point (for point-by-point lacing), or undo the end knot and pull the net taut again by pulling on the rope (for criss cross lacing).
Please do not hesitate to get in contact if you have any doubts or questions. Our specialists will be delighted to offer you advice on properly retensioning your net.
See these steps in detail in the manual sent with the email confirmation for your order. You can also watch our video tutorials on our YouTube channel.
If you have any questions about installing your vertical home net, our advisers will be on hand to offer telephone assistance from Monday to Friday, 9 am to 6 pm (GMT+2) on +33 (0)5 35 54 35 00, and by email at contact@loftnets.com.


