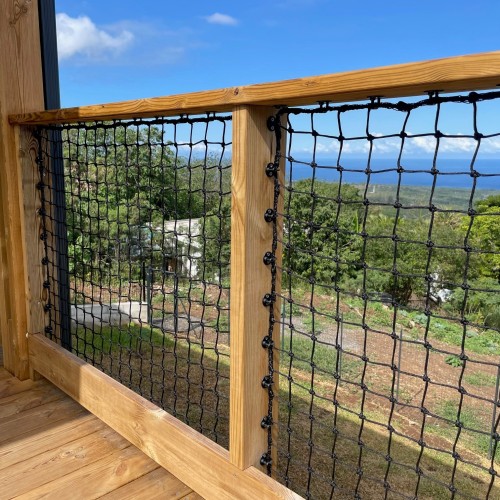
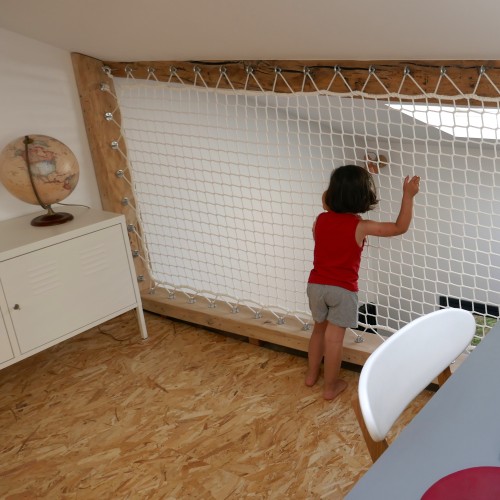
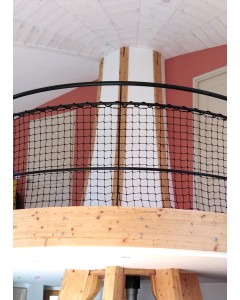
LOFTNETS has created its own range of net guardrails with three possible configurations, ensuring all needs and tastes can be met.
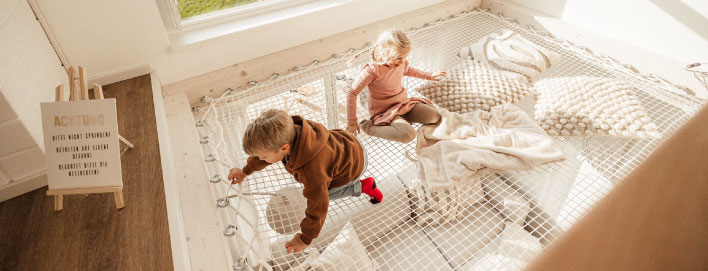
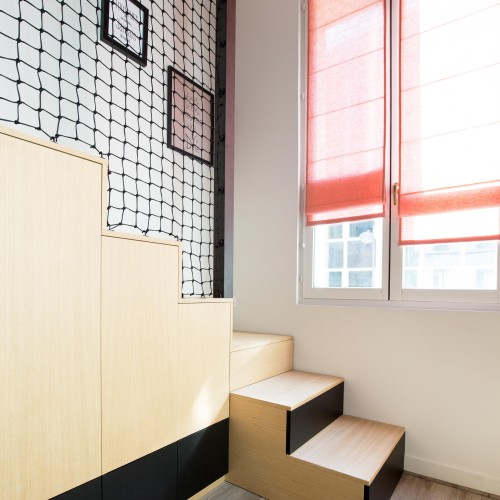
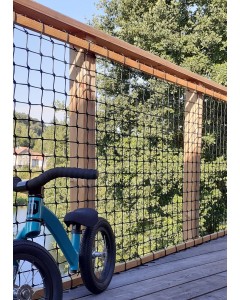
Increasingly popular in the world of interior design, home nets are a great way to create or make use of new spaces. Used vertically, a guardrail net can be used to secure spaces such as stairways or balcony handrails, or to separate two rooms. Innovative and economic, they offer an original, designer way to increase the safety of your interior and exterior spaces.
Three different configurations, one shared promise: your guardrail will be just as safe whether it is made from a net with a tension rope, without a finishing or with a thin bolt rope.
Configuration 1: net guardrails without a tension rope
Using an unfinished net, without a rope or finishing, means the net can be completely adapted to the stairway for example, as the shape of the net can be fitted to your steps by readjusting it, if needed, with a hot iron, or by cutting the excess with a pair of scissors. This solution will create a minimalist industrial look.
The three steps for installing your unfinished net guardrail:
- Install your jumper shackles every 12 cm around the edge of the structure that will house the net
- Gradually position the net directly in the jumper shackles
- Finish installation with the last shackle
If you choose this guardrail configuration for a project other than a staircase or a standard shape (square or rectangle), please send us the shape and dimensions you need when requesting your quote so we can go through the plan with you and let you know about any special circumstances. You can also contact our technicians directly if you need advice.
Unfinished nets inserted into the frame
This configuration is slightly more technical and requires a wooden bracket that will need to be attached to the frame, where the net’s mesh will pass directly.
To install a net this way, find a wooden bracket that suits your frame and thread the wood through each mesh around the edge of the net, before attaching the wood directly to your frame. Repeat the process for the entire net.
Configuration 2: net guardrails with a thin bolt rope
A net guardrail with a thin bolt rope is an alternative solution to an unfinished net in which the edges of the net are carefully finished. This finish will be more difficult to mould to the empty space the net will fill.
The three steps for simple installation of this type of guardrail:
- Install your jumper shackles every 12 cm around the edge of the structure that will house the net
- Gradually position the edge of the net directly in the shackle jumpers
- Finish installation with the last shackle
Configuration 3: net guardrails with tension ropes
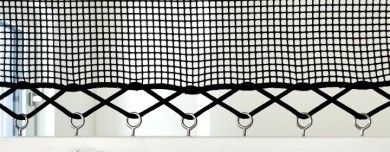
A net guardrail is composed of a net which is tensioned via a tension rope in the same way as a hammock floor. This type of guardrail enables the net to be pulled as taut as possible and is therefore designed for large guardrails that may stretch over time or which are designed, for example, to replace a partition for a more taut effect.
The three steps for installing your net guardrail and rope:
- Install your fasteners every 12 cm around the edge of the structure that will house the net
- Position the entire net and hold it in place using zip ties (supplied free with your order)
- Lace the tension rope through the net. Make a starting knot, thread the tension rope through the fastener and back through the net. Once you reach halfway around the net, tie an end knot. Finally, repeat the same steps on the other half of the net.
IMPORTANT : for a vertical home net, we recommend using simple triangular lacing, threading just one rope through each fastener. For a horizontal home net, however, it is essential to use double lacing (or point-by-point lacing, find out more in this article) to ensure maximum security for the people using the net.
Nets with a rope around the frame
It is possible to wrap the rope around the frame or sub-frame of the handrail.
To do this, position the net under the frame and thread the rope through a mesh in the net, then wrap it around the frame. Repeat the process from the top to the bottom of the net all along the edge.
Decorative ropes: 100% vertical rope separation
Find out more in this article.
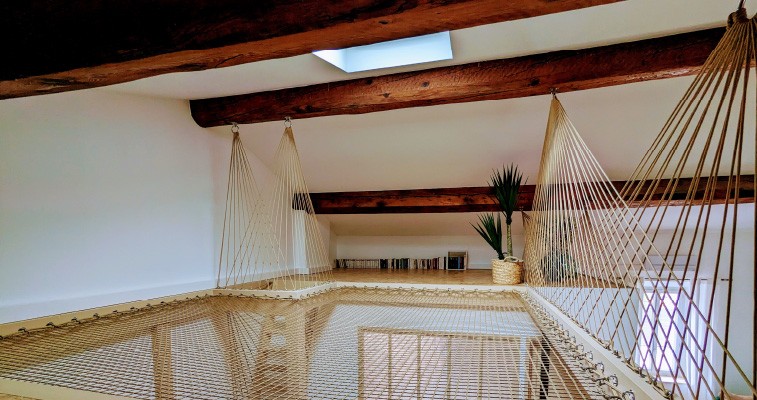
Find detailed information on installing a vertical net in the manual sent by email after confirmation for your order. You can also watch our video tutorials on YouTube channel.
If you have any questions about installing your vertical home net, our advisers will be on hand to offer telephone assistance from Monday to Friday, 9 am to 6 pm (GMT+2) on +33 (0)5 35 54 35 00, and by email at contact@loftnets.com.


